Step 5: Finish the Wood
You can leave attractive wood natural, apply a stain, paint it, or protect it with a clear furniture finish.
A protective finish is especially useful if the table may hold drinks, plants, or other items that could expose the surface to moisture.
Follow the manufacturer’s drying and curing times before assembly.
Step 6: Measure Carefully
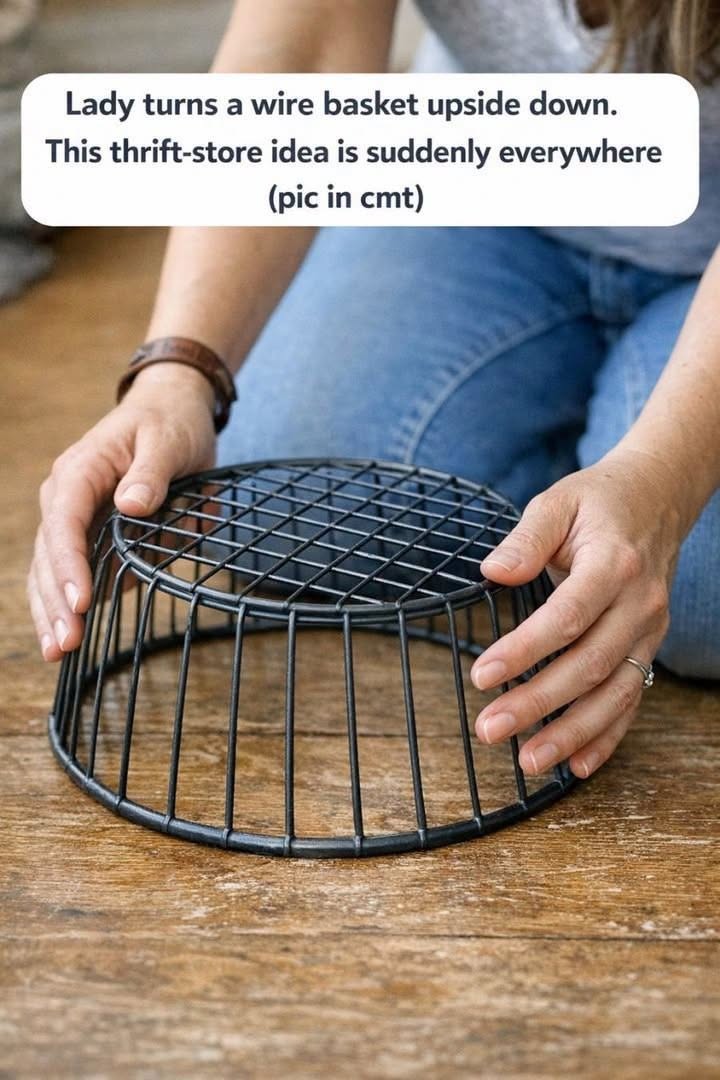
Turn the basket upside down so the surface that will support the tabletop is facing upward.
Measure its diameter and mark the center of the tabletop.
Place the tabletop over the basket without adhesive first and adjust it until the overhang is even on all sides.
You can make small pencil marks on the underside of a wooden top to help preserve the correct position during final assembly.
Step 7: Choose a Secure Attachment Method
Strong adhesive can work for some material combinations, but it should be specifically compatible with both the basket’s metal finish and the tabletop material.
Follow all surface-preparation, curing, and weight-bearing instructions provided by the adhesive manufacturer.
For heavier tops or a table that will be moved frequently, a mechanical attachment may be more dependable than adhesive alone.
For example, a wooden top may sometimes be attached using appropriately positioned metal brackets, clamps, or fasteners from underneath, depending on the shape of the basket.
A glass tabletop should be secured only with a method appropriate for glass furniture. Do not drill ordinary glass or improvise with fasteners that place pressure on its edges.
Step 8: Attach the Tabletop
If using adhesive, apply it only where the manufacturer’s instructions recommend.
Lower the tabletop carefully into position and make sure it is centered.
Apply gentle, even pressure and leave the table undisturbed for the full curing period.
Do not place objects on the tabletop simply because the adhesive feels dry on the surface. Some adhesives require many hours before reaching their intended strength.
Step 9: Test the Table
Once everything has fully cured, place the table on a level floor.
Gently press on different edges of the tabletop to check for rocking or excessive movement.
If the table feels unstable, correct the problem before using it.
Small protective furniture pads can sometimes help compensate for minor floor irregularities and protect hard flooring from scratches.
The basic table is now complete, but the most interesting part of this project is how easily the same idea can be adapted to completely different decorating styles.